
Basic Wire Wrapped Ring Tutorial (Part 1)
***This is not a full on step-by-step tutorial on making an exact copy, but I have documented the process of creating varied rings, and the key parts of the process. Follow along and create your own design!***
Wrapping the Band:

Cut your wires.
I tend to use about 5-6 inches for most sizes.
I used 3x 21g square wires here. Use more wires for a thicker band, and more wires to use for decorative elements later on.
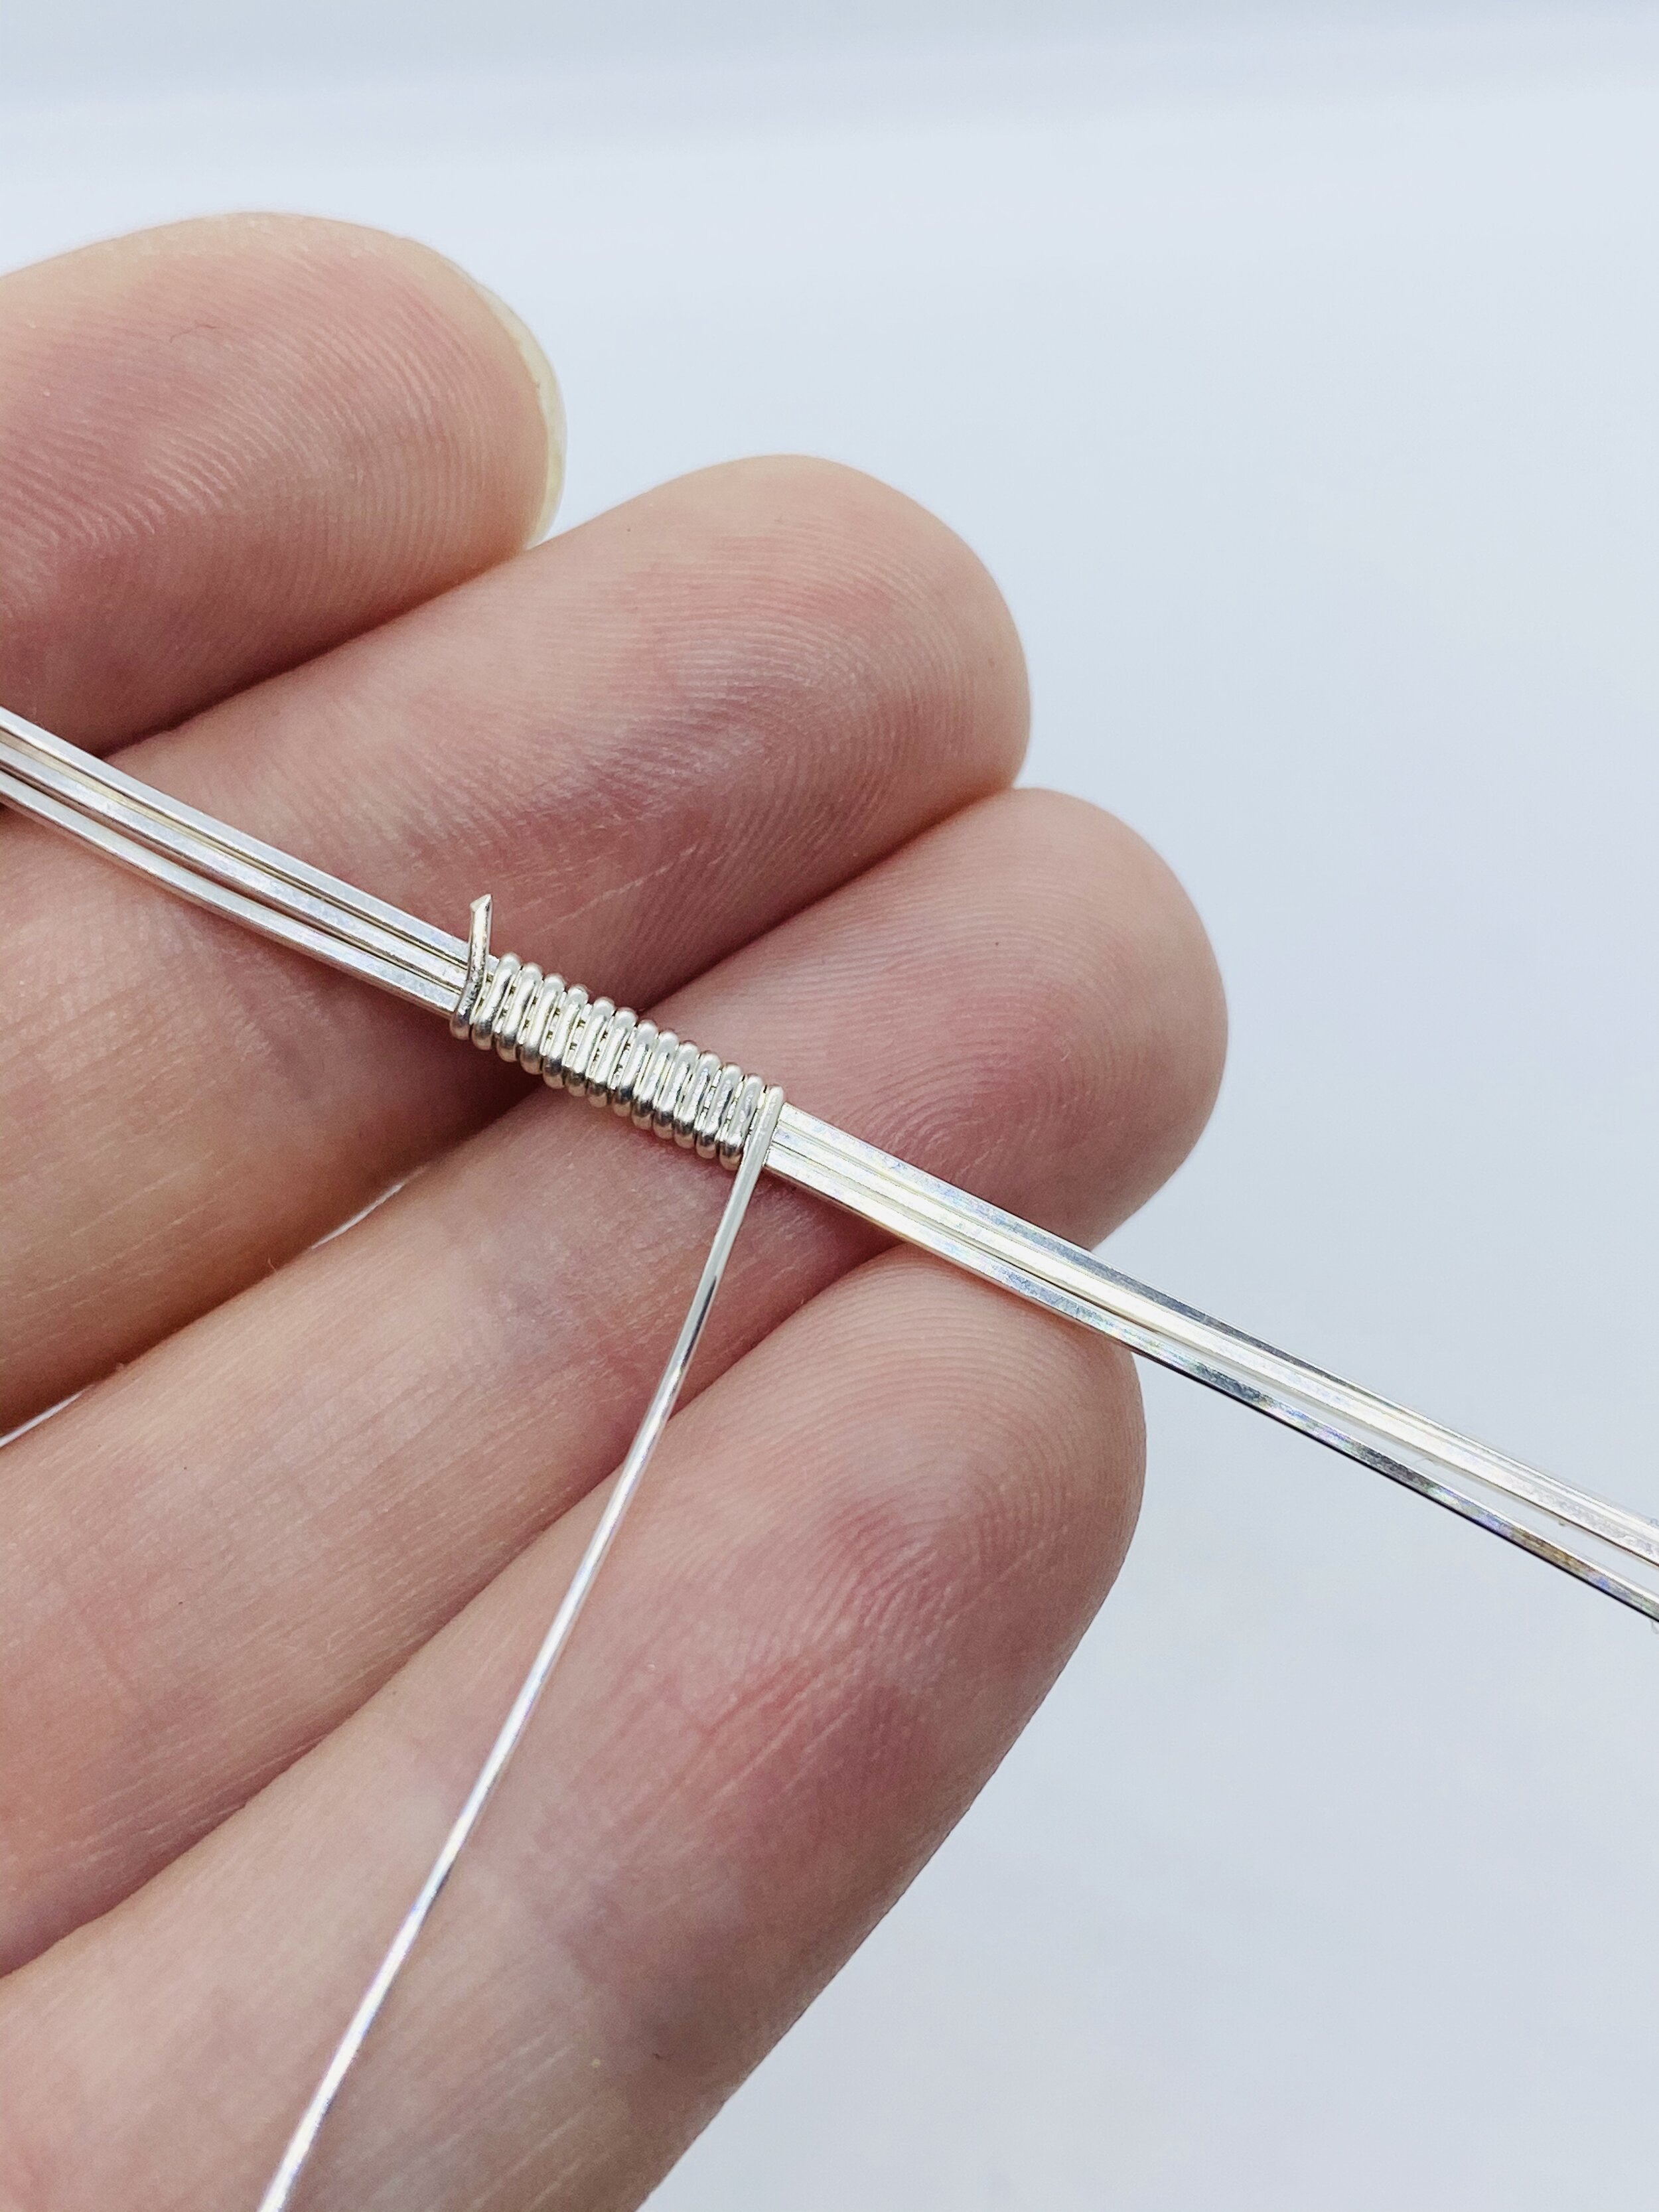
Weave the band.
I began my weave 2 inches into the wires. This allowed me to work with 2 inches of wires on each side later on.
This is just a super basic wrap around. Use whatever gauge/shape you prefer. This is 22g half round, I like using half round for ring bands, it usually looks more clean, but you can design your band however you like, if you are more advanced you can even set stones in it!

Here’s a super simple, but more decorative weave.
Pattern:
5x wrap-arounds with the gold under
10x wrap-arounds with the gold above

Measure your weave, this will loosely indicate the size later on.
(This came out to ~2 inches. The ring came out to a size 6.5)
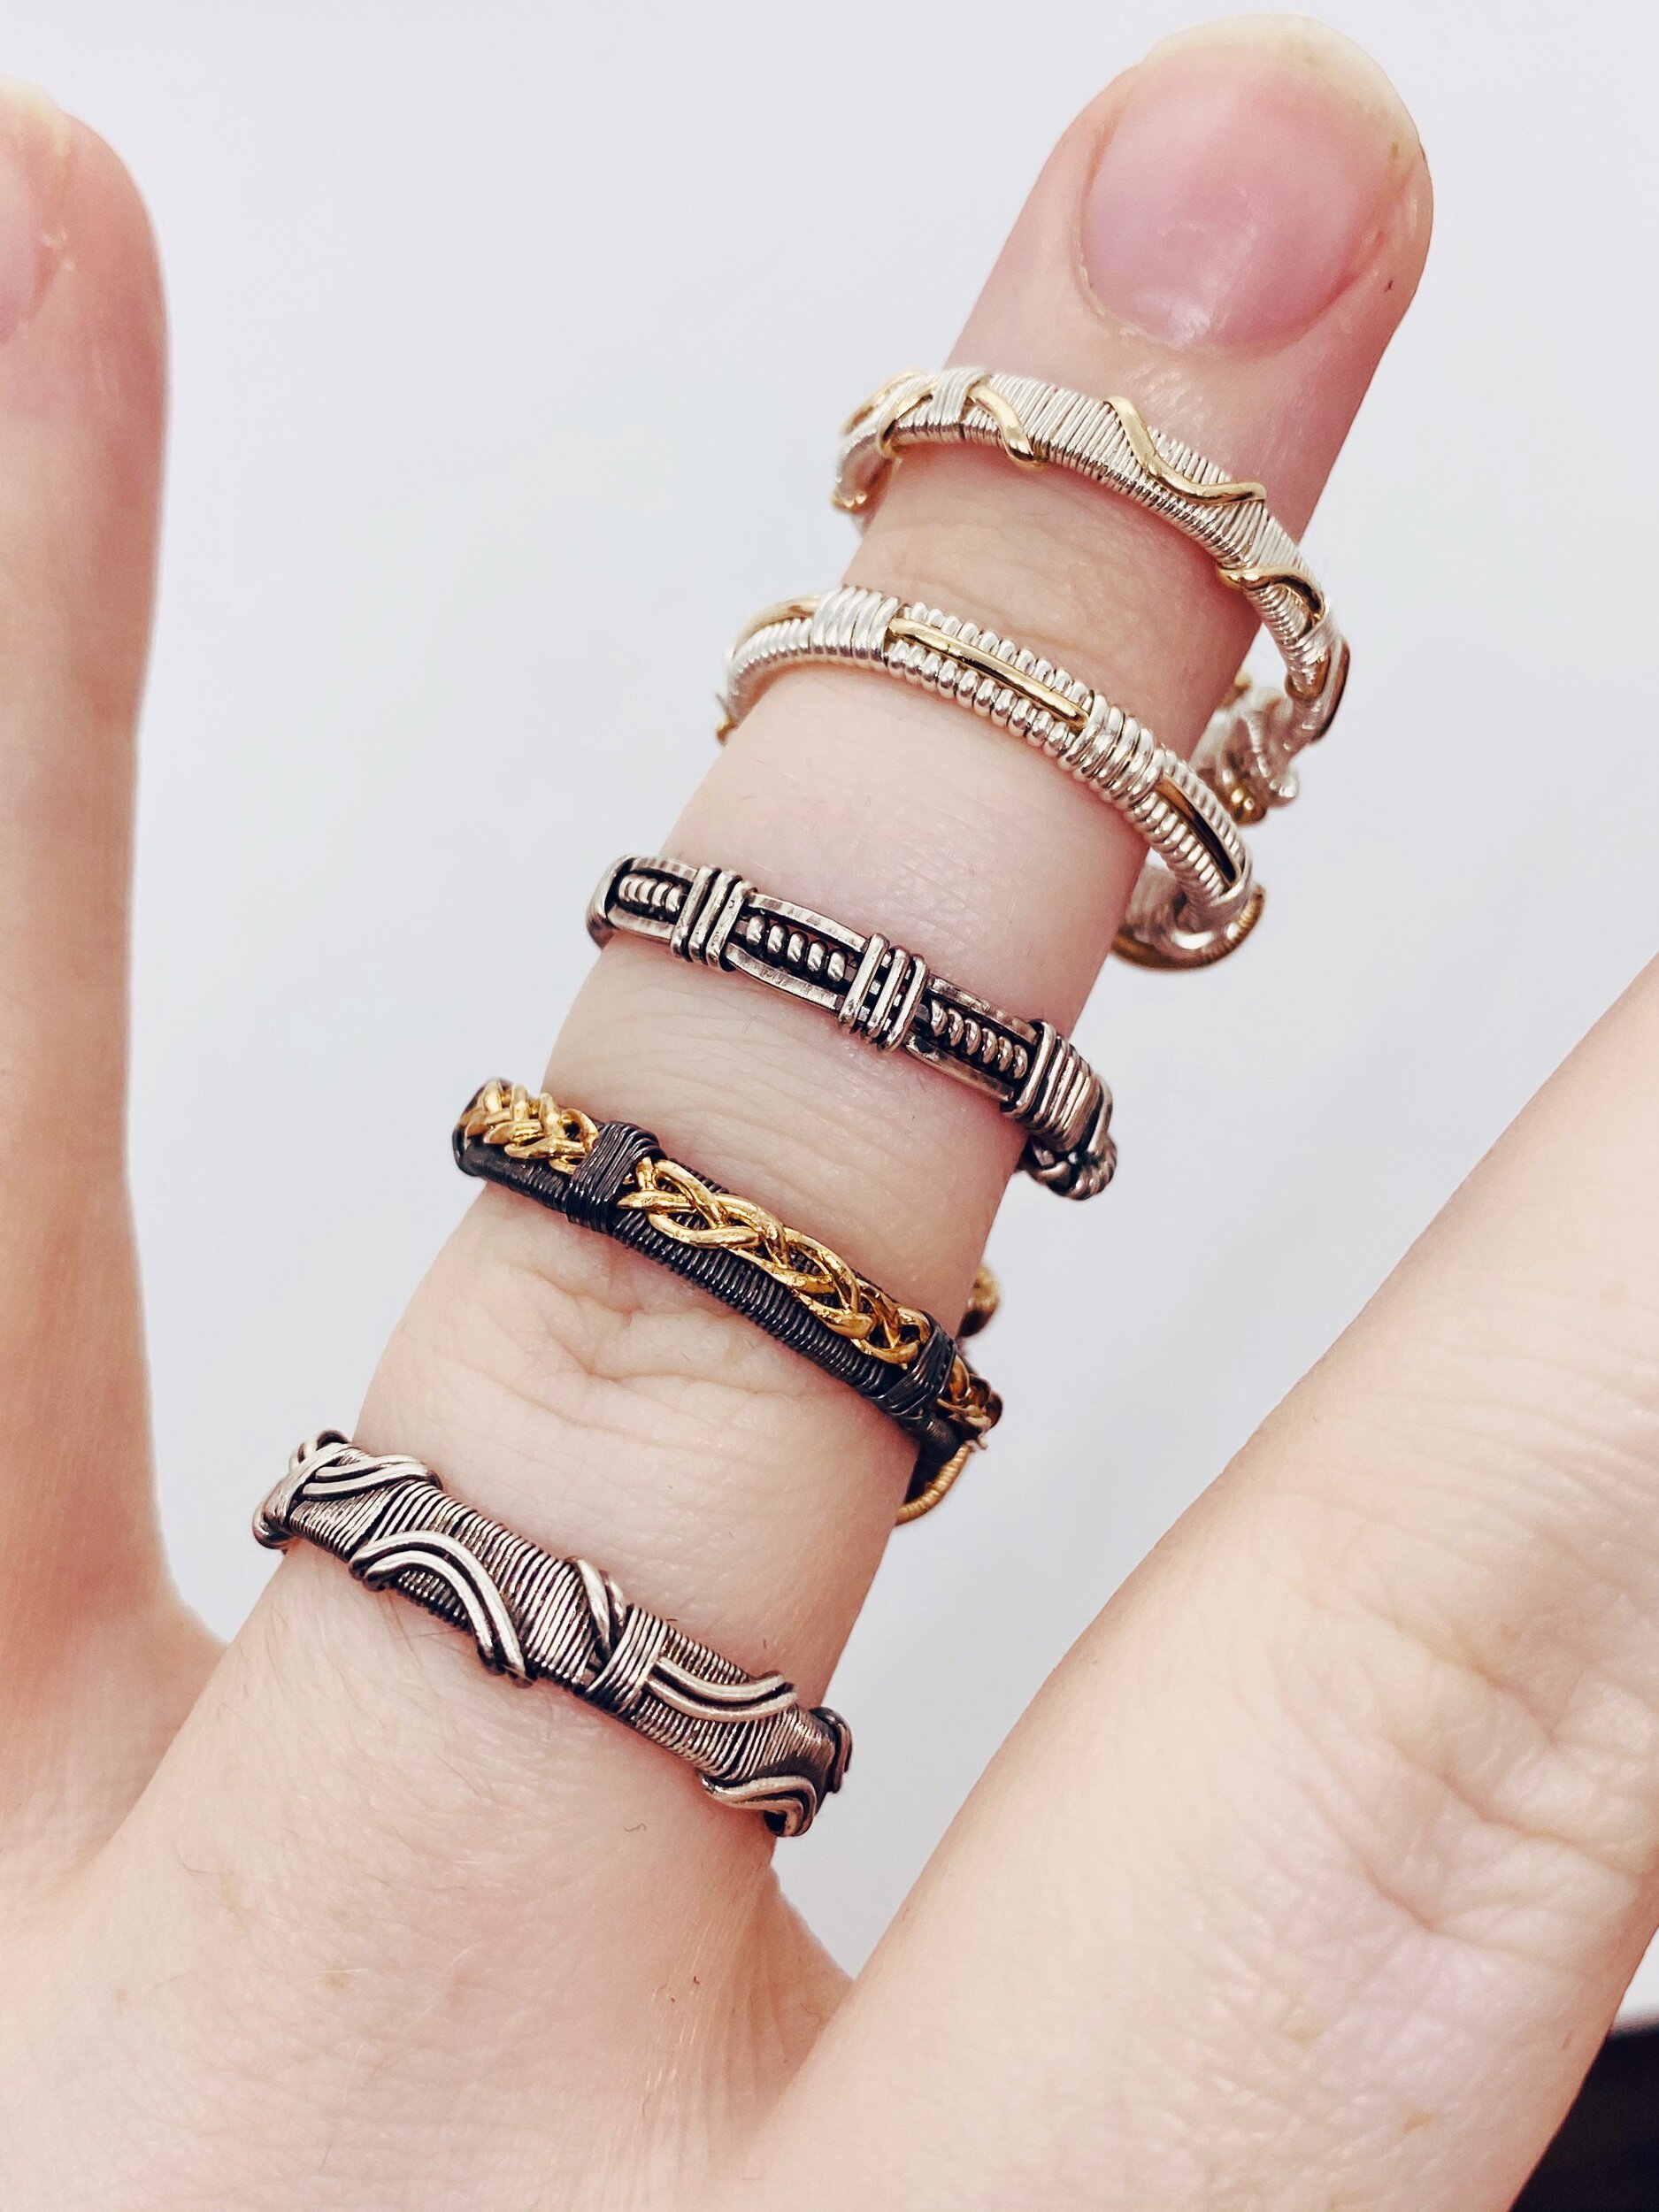
Here’s some more examples of more advanced band variations.

Bend around your ring mandrel.
Now you can really adjust the size your ring. The seat for the stone can be made a little wider to create a little more room.

Wrap around the 6 wires to secure the round shape.

This is a wide rectangle seat, it works for a wider stone.
The seat shape should also be able to hold the stone well. A wide seat works will for a an oval stone.
Setting the Stone:

(Note: This is a different ring band with a more square shaped seat.)
Pull the inner 2 wires up. These two are going to secure your stone in place. The other 4 will be for designing.

Bend them up and over the stone.

Pull the wires beneath the opposite side’s outer two wires.
Make sure the wires are securing the stone, and also showing off enough of it.
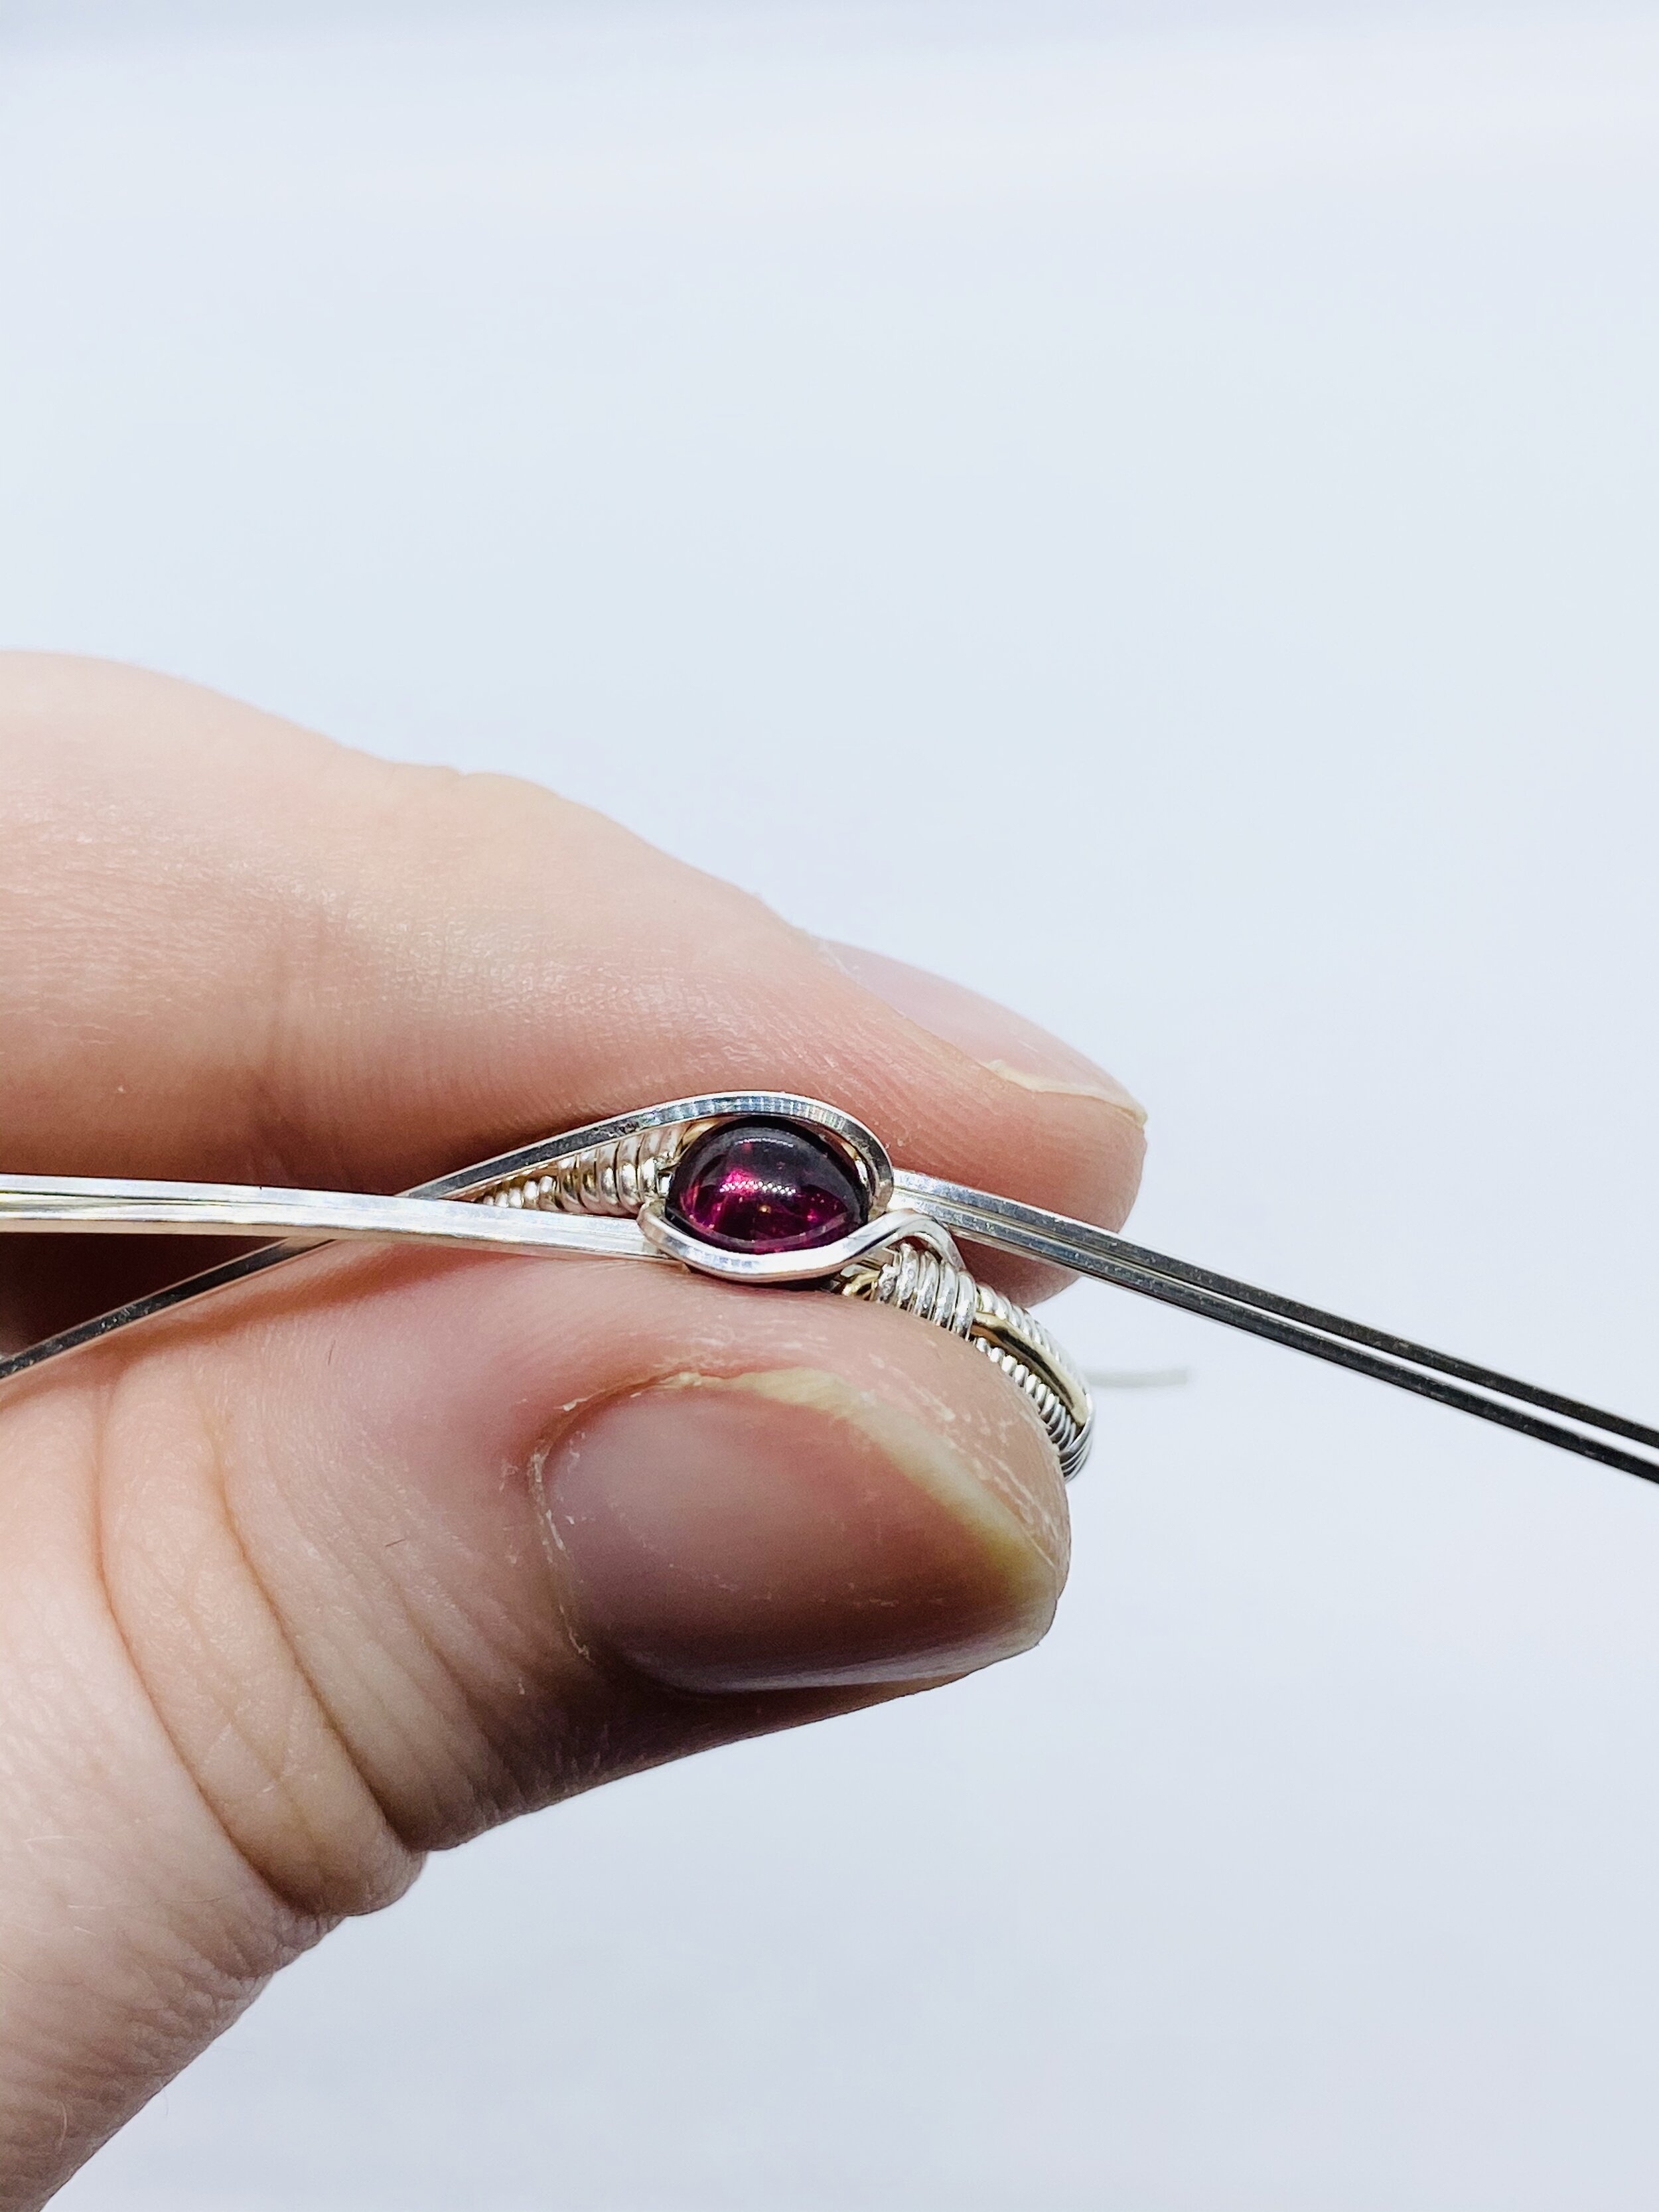
This is what it should look like from the top. Do this to both sides.

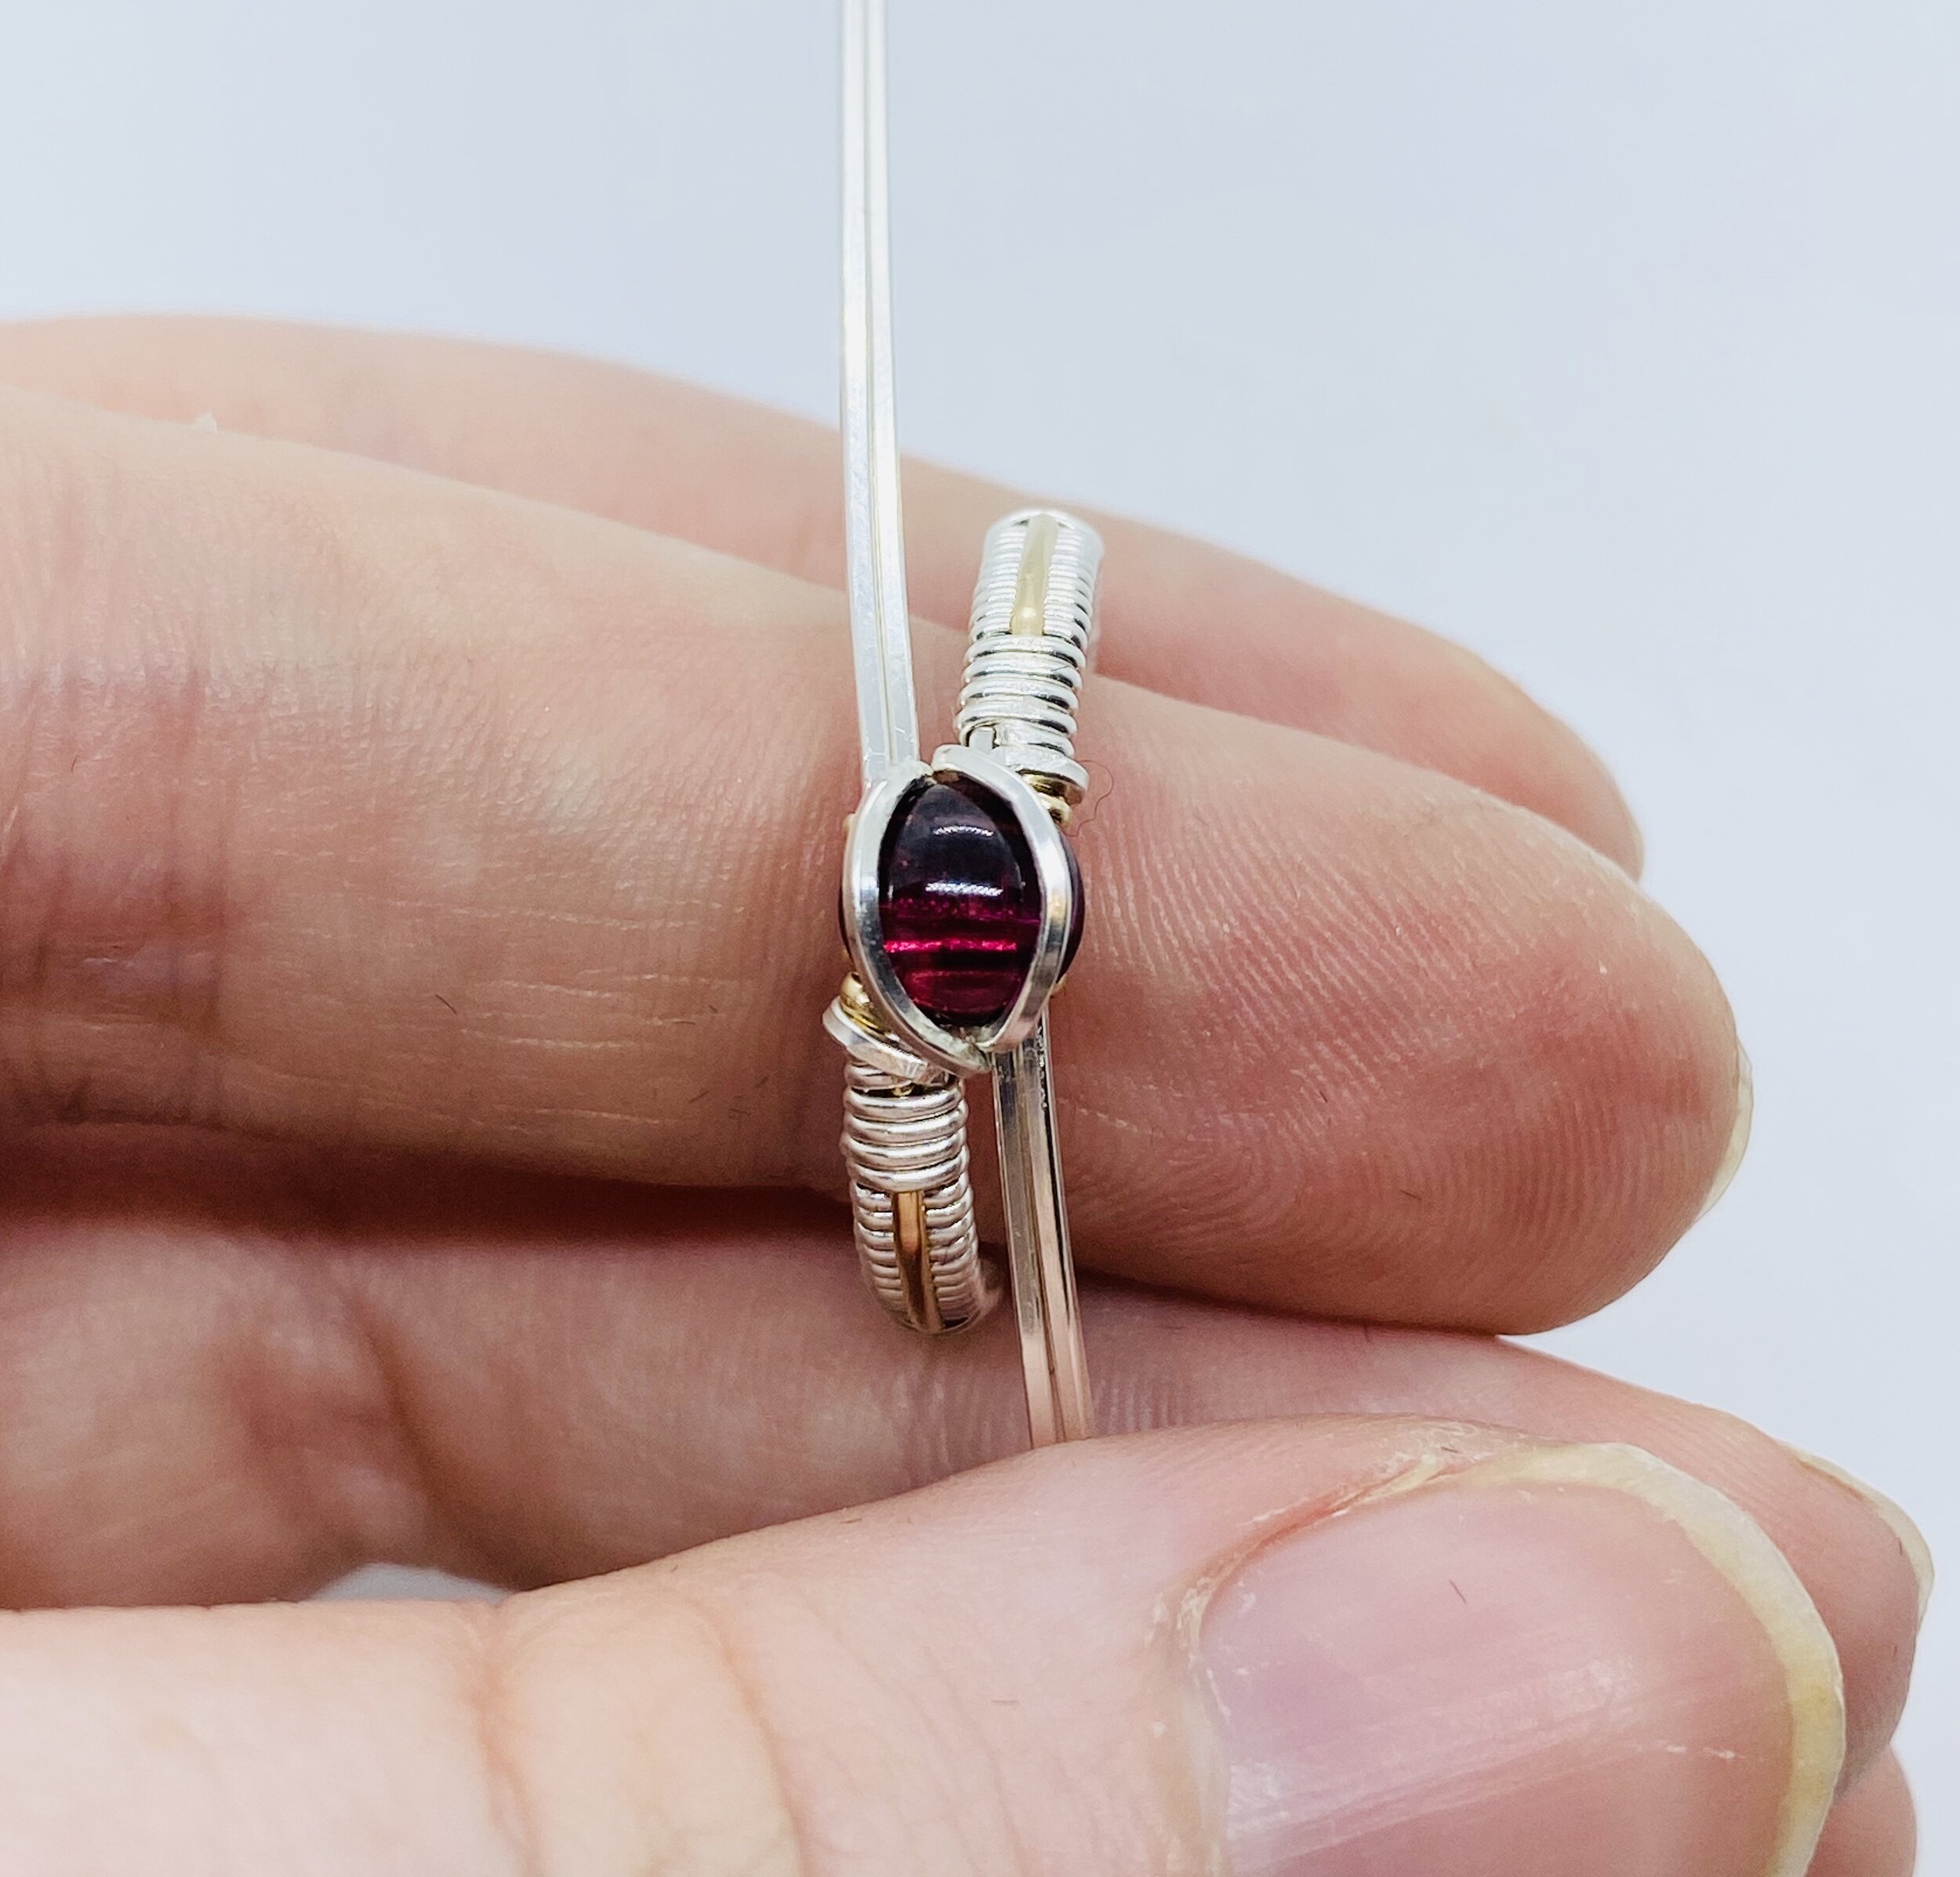
Both wires are pulled down, and trimmed a bit so you can pull them through.

Pull them through the band, and up and over the top.

Snip Snip.
Cut enough to remain on top of the band, but not to go over.
Secure.
Make sure the cut is tight, secure, and on the TOP of the band, so it doesn’t catch on someone’s finger.
Adjust/round the wires holding the stone to ensure you seen enough of the stone, and that it is secure enough.